
Image compression for the web: resize, format, and quality
· 7 min read
Step-by-step guide to compress images for web: resize first, pick the right format, set quality right. Includes a measured 95.5% size-reduction walkthrough.
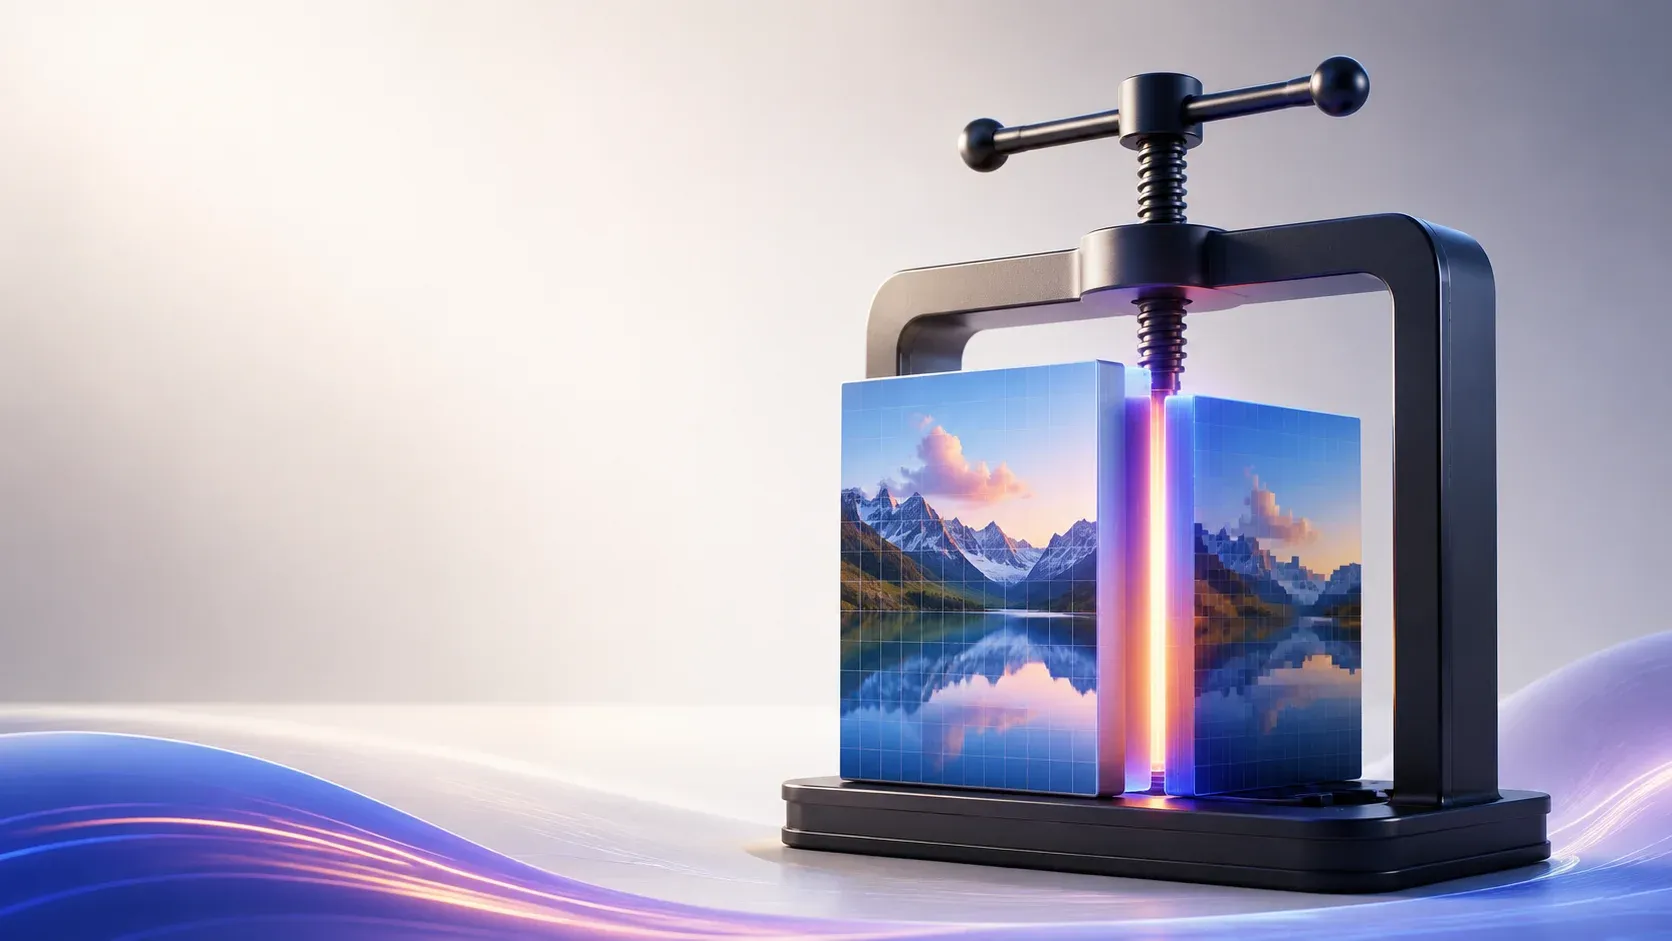
- Resize before you compress: dimensions are the biggest lever, quality is second
- Our 4000x3000 photo-style test image, resized to 1600px and re-encoded at q78, dropped 95.5%
- Photos take lossy formats (JPEG/WebP); screenshots and graphics take lossless (PNG)
- Browser-based compression keeps files on your machine; nothing gets uploaded
Why compressing images for the web matters
Every uncompressed image you publish is a tax on every visitor. Mobile users on slow connections feel it first, but nobody escapes it: the browser must download every byte before the picture appears. Since the Largest Contentful Paint metric is usually an image on content pages, heavy images also drag down the Core Web Vitals scores that feed into how Google evaluates page experience.
This guide walks through the exact workflow to compress images for web use: resize to display dimensions, choose the right format, set quality with intent, and verify the result. It works for a single hero image or a whole blog backlog, and every step runs in the browser so your files never leave your machine. For the wider toolset beyond compression, the complete guide to free online image tools covers resizing, conversion, OCR, and metadata in one place.
Step 1: Resize to display dimensions first
Compression gets the headlines, but resizing does the heavy lifting. A photo straight off a phone measures 4000 pixels wide or more. A content column renders at 800 to 1200 pixels, and even a retina display only needs double the CSS pixels. Shipping 4000 pixels into that slot means visitors download three or four times the pixels they can ever see.
The numbers make the case better than the argument. We ran a reproducible test on a synthetic 4000x3000 photo-style image (gradients, noise, and shapes: the entropy profile of a real photo), encoded with Pillow:
| Stage | Settings | File size |
|---|---|---|
| Source | 4000x3000, JPEG quality 90 | 3,661 KB |
| After resize + re-encode | 1600x1200, JPEG quality 78 | 163 KB |
A 95.5% reduction from two operations, no exotic tooling, and the output still fills a typical content column at retina density. Resize first with the image resizer, then compress what remains.
Step 2: Pick the right format for the content
Format choice decides whether compression has an easy job or an impossible one. The decision table covers nearly every case:
| Content | Format | Compression type |
|---|---|---|
| Photographs, gradients | JPEG or WebP | Lossy |
| Screenshots, UI captures | PNG or WebP | Lossless |
| Graphics needing transparency | PNG or WebP | Lossless |
| Icons, logos, charts | SVG | Vector (compress the markup) |
Format adoption shapes these defaults: PNG runs on 75.9% of websites and JPEG on 69.9% per W3Techs, so both remain formats every workflow must handle well. Newer codecs keep gaining ground (WebP at 21.5%, AVIF at 1.6%; sites ship several formats at once, so shares overlap), and the Web Almanac images chapter has tracked image bytes as a leading share of page weight for years. AVIF squeezes photos further than WebP at like quality, but slower encoding and thinner tooling still make WebP the everyday default; MDN's image format guide walks the full trade-off.
The lossy-versus-lossless split is the part worth understanding. Lossy formats (JPEG, WebP) throw away detail your eye barely registers, which is why they shrink photographs so well. Lossless formats (PNG) preserve every pixel exactly, which is why text stays crisp in screenshots but file sizes run larger. Compressing a screenshot as a JPEG produces smudged text; compressing a photo as a PNG wastes most of the potential savings. When a file arrives in the wrong format, the WebP to PNG/JPG converter fixes the mismatch before you compress.
Step 3: Set quality with intent
The quality slider in JPEG and WebP encoding controls how aggressively the encoder discards information. Two facts make it manageable. First, the relationship between quality and file size is steep at the top: the jump from quality 100 to 80 can cut size by more than half while remaining visually indistinguishable for photos. Second, the safe floor depends on content: photographs tolerate quality 70-80 comfortably, while screenshots and graphics with text should stay lossless or near it.
What the slider actually changes is how aggressively the encoder discards information the eye tolerates poorly or not at all. JPEG-style encoders split the image into small blocks and simplify each one; push quality too low and those blocks stop blending, showing up as visible squares along sharp edges, the artifact people mean when they say an image looks "compressed". Text and straight lines show the damage first, which is exactly why screenshots belong in lossless formats.
The original WebP compression study found lossy WebP runs 25-34% smaller than JPEG at equivalent quality, and lossless WebP about 26% smaller than PNG, which is why WebP has climbed to 21.5% of all websites per W3Techs. For a typical blog photo, quality 75-80 in either format is the working sweet spot: run the image compressor at that setting, compare the before and after at full zoom, and step down only if you cannot see a difference.
Step 4: Verify the result before publishing
Compression without verification is how websites end up with blocky hero images. Three checks catch every problem:
- Zoom to 100% and inspect edges, text, and gradients for blocking or banding
- Check that transparency survived. JPEG silently flattens alpha channels onto a background color, which turns a transparent logo into a white-boxed one if you miss it
- Confirm dimensions match the layout slot
If the compression artifacts show at 100% zoom, step the quality up 5 points and re-compress. One extra pass costs seconds; shipping a degraded hero image costs credibility.
WebP: the modern default worth switching to
If you are compressing anyway, it costs nothing extra to compress into a better format. WebP supports both lossy and lossless modes, handles transparency like PNG, animates like GIF, and per Google's study beats JPEG by 25-34% at equivalent visual quality. Browser support has been universal across major browsers for years, so the old compatibility argument no longer applies to general web use.
The switch path is simple. Export fresh copies of your existing JPEG or PNG masters directly to WebP from your editor or build pipeline, then compare file sizes side by side. (ToolSura's converter runs the other direction, WebP out to PNG or JPG, for when a downloaded file arrives in WebP and your editor refuses it.) Photos typically see the largest gains; screenshots saved as lossless WebP also shrink versus their PNG originals. Keep JPEG fallbacks only if your analytics show meaningful traffic from very old browsers, and even then serve them through the picture element rather than duplicating pages.
One caution applies to editing workflows: some desktop applications still refuse WebP input. If your editor is among them, keep masters in PNG or maximum-quality JPEG and treat WebP as the delivery format, produced as the final step of the pipeline.
Common compression mistakes
| Mistake | What happens | Fix |
|---|---|---|
| Compressing before resizing | You optimize pixels nobody will see | Resize to display size first |
| Screenshots saved as JPEG | Fuzzy text, compression artifacts on flat color | Keep screenshots lossless (PNG) |
| Re-saving JPEGs repeatedly | Each save stacks generation loss | Export from the lossless master each time |
| Quality 100 "to be safe" | Files 2-3x larger with no visible gain | Quality 75-80 for photos |
| Stripping transparency accidentally | White boxes behind logos | Use PNG or WebP for alpha channels |
The repeated re-save deserves a second look because it compounds quietly. Every JPEG save re-runs lossy compression on already-compressed data, and artifacts accumulate. Keep one master copy (PNG or maximum-quality original), and generate every web export from it fresh.
How to compress a backlog of images for web delivery
Single-image workflows are easy; backlogs need a sequence. For an existing blog or a folder of product shots, sort by impact: start with the images on your most-visited pages (hero images, above-the-fold graphics), compress those first, and work down by traffic. The per-image pipeline stays the same at every step: resize, format check, quality 75-80, verify. Doing the high-traffic images first means your biggest wins land before the long tail is done.
Because every ToolSura image tool runs client-side in your browser, batch work carries no upload queue and no privacy exposure; the Canvas API processes each file locally as fast as your machine can chew through it.
A worked backlog example: suppose a blog has 200 images and its five most-visited posts account for 60% of pageviews. Compressing the images on those five pages first improves the experience for most visitors while touching 15 or 20 files. The remaining 180 images can follow over a week of idle moments. Prioritization turns an overwhelming audit into a series of small, high-value passes.
Track your progress in whatever you have at hand, even a spreadsheet with three columns: image, old size, new size. The totals after the first week usually justify the effort on their own, and the log doubles as evidence when someone asks what changed.
The workflow in one line
To compress images for web delivery: resize to display dimensions, pick the format the content deserves, set quality around 75-80 for photos, and verify at 100% zoom. The measured example above shows what the full pipeline delivers: a 95.5% size reduction with the image still looking right in place. Run your five heaviest images through the compressor today and watch your page weight drop; then bookmark this compress images for web guide for the next batch.

Written by
Ingrid Solberg
A compressed image cannot be judged from a file listing, so every page here shows the artefact rather than the byte count. What survives are the frequencies the eye resolves, which is why artefacts cluster around sharp edges and fine detail: text, hair, wire, foliage. The artefact that gives compression away fastest is banding across a smooth gradient, and it appears long before anybody notices blur. Lossy versus lossless is a choice about whether the file will be edited again. A file destined for print or for further editing should stay lossless. A file that goes onto a page and is never touched again should not. Resolution and quality are not the same setting, and confusing them wastes effort. Resolution decides how many pixels you have. Quality decides how the encoder spends them. A phone photograph at full resolution and low quality looks worse than a correctly sized image at high quality. Metadata is a real cost. A camera original carries a full sensor file with an embedded preview, and stripping to the embedded version is often a larger saving than any quality adjustment, with no visual change on a web page. For images on a page I finish with the format recommendation, because serving a format the browser supports natively beats compressing an older one to a comparable size. There is also a floor below which further compression is pointless, because the file stops shrinking at a rate that matters while the artefacts keep accumulating. Finding that floor for your own images is a short experiment and it saves guessing on every subsequent batch.