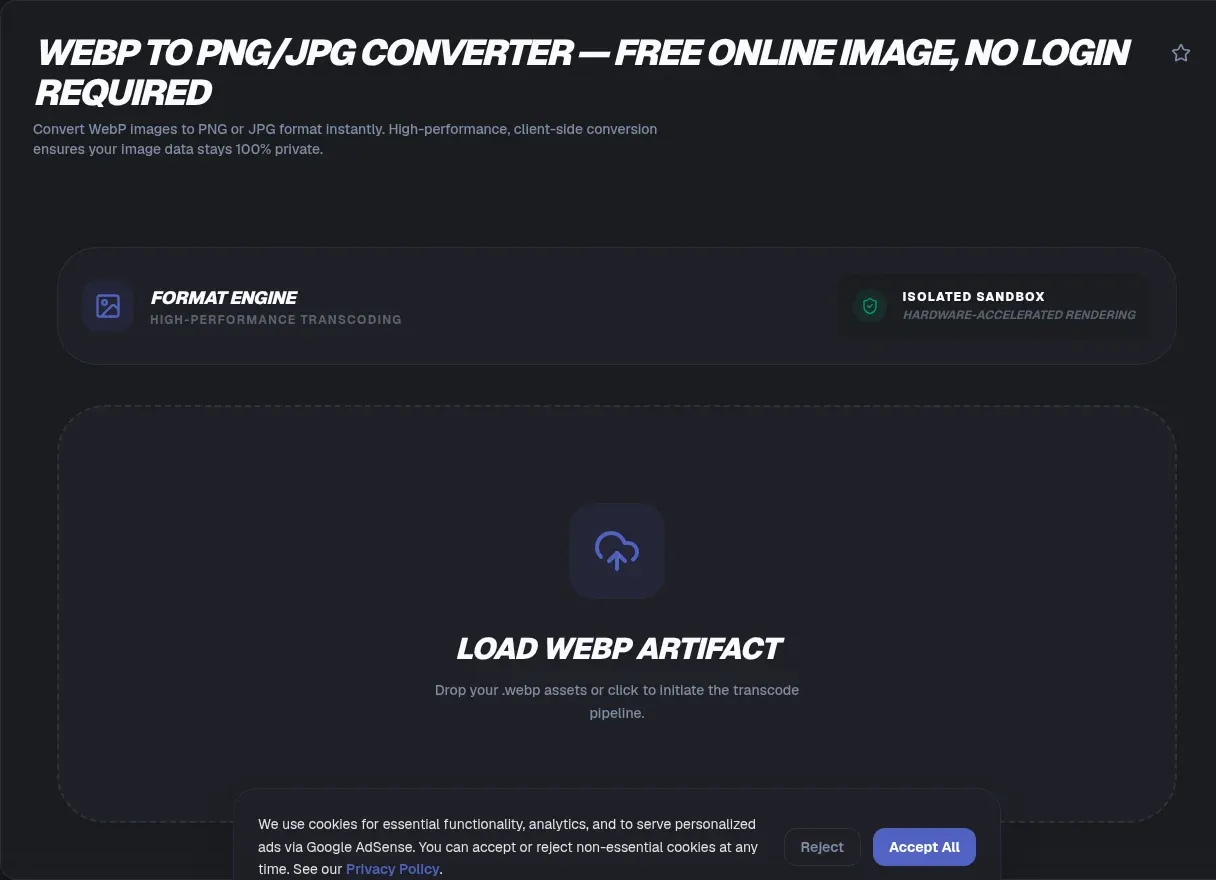
You downloaded a .webp file, double-clicked it, and your photo app threw an error. Annoying, but fixable in about thirty seconds. WebP now runs on 21.5% of all websites (W3Techs), yet editors, office suites, and email clients still choke on it daily. ToolSura converts WebP to PNG or JPG entirely in your browser: your files never leave your device, and nothing gets uploaded anywhere.
No upload step means no queue, no account, and no file-size ceiling. The conversion happens locally: your browser decodes the WebP, redraws it on a canvas, and encodes a fresh PNG or JPG using your own CPU. Drag in one file or fifty, pick a format, download. The page keeps working even if you go offline after it loads.
Key Takeaways
- ToolSura converts WebP to PNG or JPG entirely in your browser: no uploads, no queues, no daily caps
- Lossy WebP runs 25-34% smaller than JPEG at equal quality, so converting back to JPG usually grows the file (Google)
- PNG keeps transparency; JPG flattens it onto white because JPEG has no alpha channel (MDN)
- Canvas conversion strips EXIF automatically, deleting GPS coordinates and camera data (MDN)
- JPG quality 80-90 covers nearly every use; above 90, size climbs fast with no visible gain
Why Can't I Open My .webp File?
Because your operating system or application never shipped a WebP decoder, and universal support arrived surprisingly late. Desktop Safari sat in partial-support status until version 16 landed in 2022, three years after Firefox caught up in January 2019 (caniuse). Browsers sit near 96% support today, which leaves a long tail of older desktop software stranded. So why did your machine refuse a format Google launched back in 2010?
Windows Needed a Codec Until 2023
File Explorer and the classic Photos app displayed .webp files as unknown icons unless you installed the free WebP Image Extensions, which require Windows 10 version 1809 or newer. The redesigned Photos app gained native WebP support only in a 2023 update, and animated WebP still renders there as a static frame (Microsoft Store).
Apps Rejected It Even Longer
WordPress bounced .webp uploads with an error until version 5.8 shipped default support on July 20, 2021 (WordPress.org). Outlook on Windows still renders email through Word's engine and shows WebP images broken or blank, which is why Gmail quietly swaps such attachments to JPEG. Chrome itself needed until version 32 in January 2014 for full support despite early experiments (caniuse). Converting your files ends this lottery for good.
WebP vs PNG vs JPG: What Does Each Format Do?
Each format makes a different trade between weight and features, and Google's measurements explain why the web migrated. Lossy WebP images run 25-34% smaller than comparable JPEG at equivalent SSIM quality (Google), while lossless WebP beats PNG by 26% (Google). Smaller files arrived first; compatibility caught up years later.
The Feature Matrix That Decides Everything
JPEG handles photographs efficiently but supports no transparency at all. PNG is lossless and carries a full alpha channel, at the cost of heavier files. WebP does every job: lossy, lossless, alpha, and animation, with a maximum canvas of 16,383 x 16,383 pixels (MDN).
WebP Is a Formal Standard Now
Google specifies WebP as a RIFF container that can carry optional EXIF, XMP, and ICC color chunks alongside animation frames (container specification), and the IETF standardized the format as RFC 9649 (IETF). Adoption followed the specs: WebP served 12% of all mobile image requests in the 2024 crawl, up from about 9% in 2022, while JPEG slipped to 32.4% (Web Almanac).
How Do You Convert WebP to PNG or JPG Online?
The whole job takes under a minute per file, and no meter runs anywhere. Upload-based services meter aggressively: CloudConvert's free tier allows 25 conversion-minutes per day (checked August 2026). Local conversion skips the meter entirely because your processor does the work. The steps:
- Drop your files. Drag .webp files onto the page or browse for them. Parsing starts immediately and nothing moves off your machine.
- Pick the output format. PNG for transparency, screenshots, and logos. JPG for photographs headed into email or older software.
- Set JPG quality if you chose JPG. Keep the slider between 80 and 90 for photos you will share as-is. Push toward 92-95 only for print or files you plan to edit again.
- Queue the whole folder. Batch mode chews through dozens of files in one pass, paced by your hardware rather than someone's server.
- Download. Each converted file saves straight to disk. Repeat as often as you like.
Which Format Should You Pick: PNG or JPG?
Pick PNG for sharp edges and anything transparent; pick JPG for photographic content bound for email, messaging apps, or aging CMS platforms. The deciding factor is the alpha channel: JPEG simply has none, while PNG stores full 8-bit transparency natively (MDN). Size rarely settles the argument; destination support does.
A quick chooser:
- Screenshots with text: PNG. JPG compression smears character edges below quality 75.
- Logos and icons: PNG, especially over colored or dark backgrounds.
- Camera photos for email: JPG at 85-90.
- Anything you will edit again: keep a PNG master and derive JPG copies from it.
Will Converting WebP to JPG Lose Quality?
Yes, a little, whenever lossy meets lossy. Your WebP was already compressed; encoding it as JPEG compresses it a second time. At a quality setting between 85 and 95, that second pass stays visually undetectable for ordinary photographs. WebP to PNG is a different story: PNG encoding is lossless, so pixels transfer exactly as decoded (MDN).
Two practical notes follow. First, converting lossless WebP to JPG usually shrinks the file, because lossless formats spend bytes protecting every pixel. Second, converting lossy WebP back to JPG usually grows it: lossy WebP measured 25-34% smaller than comparable JPEG (Google), and that advantage flips the moment you switch formats.
One pattern shows up again and again with text-heavy screenshots: exported to JPG at quality 80, the letters shimmer on sharp displays. PNG costs more kilobytes and generates zero complaints.
What Is Generation Loss and When Does It Matter?
Generation loss is compound interest for image compression: every lossy save re-quantizes data that was already approximated. One WebP-to-JPG pass at quality 90 stays invisible. Five chained passes visibly smear edges. Discarding detail on each save is inherent to lossy codecs by design (MDN). Plan on one conversion per file.
The One-Master Rule
Keep a lossless master, PNG or lossless WebP, and derive every JPG from that file. Never recompress a JPG to shrink it further; stacking encodes doubles artifacts for marginal savings. If a platform rejects your file size, drop quality to 80 once instead of re-saving twice.
What JPG Quality Setting Should You Use?
Eighty to ninety covers nearly every real-world use. Above roughly 90, file size climbs steeply while visible improvement approaches zero. Below about 75, artifacts surface along text edges and flat skin tones. Expect the resulting JPG to outweigh its WebP source at any slider value: Google's FAQ puts WebP at roughly 30% better compression than JPEG on average (Google).
Match the setting to the destination. Email attachments and chat apps: 80-85 looks clean after those platforms recompress anyway. Print shops and design handoffs: 92-95, since downstream tools may resize and re-encode again. Long-term archives: skip JPG entirely and stay with PNG.
How Do You Keep a Transparent Background?
Convert to PNG. That is the entire decision. PNG stores a full alpha channel, so every transparent region survives the trip, while JPEG offers no transparency and forces converters to flatten your image onto solid white (MDN). WebP made transparency cheap, which is part of why it spread: alpha adds only 22% to lossless WebP files, and lossy WebP with transparency typically runs 3x smaller than the PNG equivalent (Google).
Soft edges deserve a note. Anti-aliased curves carry semi-transparent pixels along their borders, and JPG flattening turns that gradient into a hard white fringe. PNG transports the gradient intact, which is why converted logos look cleanest as PNG on any background.
When Should You Flatten Transparency on Purpose?
Flatten deliberately when the destination punishes alpha. Marketplace product listings, legacy Office documents, and many newsletter builders composite images against white regardless of what you send, so flattening on your own terms keeps you in control. The missing alpha channel is baked into the JPEG specification itself, not a converter quirk (MDN).
Where flattening makes sense:
- Marketplace product photos: pure white (#FFFFFF) background, matching listing requirements.
- Newsletter graphics: white backing matches how most email clients paint.
- Print pieces: paper is opaque anyway, so nothing changes visually.
- Dark-themed sites: never flatten; ship PNG and keep the alpha.
Why Does Browser Conversion Strip EXIF Metadata?
Because canvas output contains pixels and nothing else. When your browser draws the WebP onto a canvas and calls toBlob(), the result is freshly rendered raster data; the source file's EXIF block never enters the pipeline (MDN). GPS coordinates, camera model, capture timestamps: all gone by default.
The irony is that WebP files can legally carry EXIF and XMP chunks in their RIFF container (Google); the canvas rendering path simply ignores them. Server-side converters may preserve or log that metadata however they like. Local canvas conversion physically cannot retain what it never reads. Verify it yourself: run a converted file through the Image Metadata Viewer and watch the EXIF section come back empty.
How Do You Batch Convert WebP Files Without Upload Caps?
Batch limits exist because server time costs money. CloudConvert meters free users at 25 conversion-minutes per day, Convertio caps uploads near 100 MB, and FreeConvert queues jobs behind advertising (all checked August 2026). Local conversion has no meter: your CPU sets the pace, so the only ceiling is your hardware.
In practice that means dropping in an entire export folder, say 200 screenshots from a site migration, and letting the queue drain while you get coffee. No account creation, no email confirmation, no "you have used 18 of 25 minutes today" banner. A browser tab finishes in minutes what metered services spread across a week.
That is the architectural difference underneath the pricing pages: metered free tiers exist because server CPU costs money, while client-side conversion runs on hardware visitors already own.
What Happens to Animated WebP Files?
You get frame one, frozen. Canvas drawImage() renders only the first frame of any animated image, a behavior defined by rendering specs rather than any converter's preference (WebKit bug 74779). Neither PNG nor JPG can store animation anyway, so a still frame is the only technically possible output.
If the motion matters, keep the animated WebP for web use and export your preferred frame separately: pause the animation in a viewer, capture that moment, then convert it. For thumbnail duty, the automatic first-frame freeze is usually exactly what you wanted.
Common Mistakes When Converting WebP Images
Nearly every disappointing conversion traces back to one of five repeat offenders. Each takes seconds to avoid:
- Exporting text-heavy screenshots as JPG. Compression shimmers along character edges below quality 75. PNG costs more bytes and zero regrets.
- Choosing quality 100 "just in case." You pay close to double the kilobytes for a difference nobody can see. 85-90 is the working sweet spot.
- Sending transparent logos down the JPG path. White boxes on dark themes follow immediately. PNG preserves the alpha channel.
- Recompressing already-lossy files repeatedly. Artifacts compound with every pass. Keep one master, derive copies from it.
- Assuming the file was uploaded. Open your browser's network tab during a conversion and watch the silence. Nothing leaves.
Related Tools
Conversion slots into a wider browser-only workflow, and every one of these runs client-side too:
- PNG/JPG Image Compressor: squeeze the converted file further when page weight matters.
- Image Metadata Viewer: confirm the EXIF strip actually happened.
- SVG to PNG Converter: rasterize vector graphics the same zero-upload way.
- Favicon Generator: turn a converted logo into every favicon size.
- Base64 Image Encoder: embed the finished PNG straight into CSS or HTML.
- Image Resizer: change dimensions afterward, though resizing during conversion stays sharper.
- WebP vs PNG — which format to ship
WebP earned its place: Google measured it 25-34% ahead of JPEG (Google), and a fifth of the web now ships it. Plenty of desktop software missed the memo. Convert what you need, keep a PNG master for anything you will touch again, and keep the whole process on your own machine.