
Your image is heavy for one of three reasons: here is how to tell which
· 10 min read
A 4000px PNG screenshot and a 4000px JPEG photo need opposite fixes. Diagnose pixels, format, and quality first, with measured byte counts.
Most shrinking advice starts with a dial and works backwards: drag quality down, export, hope. That order is backwards, and it explains why so many people compress a picture twice, save almost nothing, and conclude the file was already as small as it gets.
An image's weight comes from three independent decisions (pixel dimensions, file format, and quality setting), and most guides conflate them. A 4000-pixel-wide PNG screenshot and a 4000-pixel-wide JPEG photo are the same complaint with opposite fixes. No single dial fixes both. Diagnose first, then pull exactly one lever.
Key Takeaways
- Weight comes from three separate choices: dimensions, format, and quality. Each needs a different fix.
- Measured on a synthetic 1600×1200 PNG (11,074,500 bytes, 2026-10-12): JPEG output fell to 177,596 bytes at q75 and 53,483 bytes at q30, while PNG output sat at 4,297,785 bytes at both positions, byte-identical.
- The quality dial is functional for lossy JPEG and inert for lossless PNG: passed but ignored per the browser API contract, not a bug.
- The free compressor on this site re-encodes but never resizes: 1600×1200 in, 1600×1200 out. Oversized pixels must be fixed elsewhere first.
The same complaint, opposite fixes
Picture two files in your inbox: a 4000×3000 dashboard screenshot saved as PNG at around 8 MB, and a 4000×3000 photograph saved as JPEG at around 9 MB. Same pixel count, nearly the same weight. The standard advice fails on one of them completely while working exactly as advertised on the other.
The screenshot is heavy because PNG is lossless: every flat panel, gridline, and letter edge is preserved exactly. That precision is the point for interface pixels, and a quality percentage has no meaning against it. The photograph is heavy for the opposite reason: far more pixels than any screen will show. A slider does nothing to the screenshot; resizing the photograph to its display width quarters its pixels in one move. For the step-by-step delivery workflow (resize, pick a format, set quality, verify), the companion walkthrough How to Compress Images for Web covers it end to end, including a measured 95.5% saving on a resized photo. This article is the diagnosis that belongs before that workflow: which of the three levers is yours.
Step 1: name what kind of image you have
Open the file, look at what is in it, and place it in one of three buckets. Everything downstream depends on this fork, and it takes about ten seconds.
A photo is continuous tone: skies, skin, shadows, gradients sliding smoothly between shades. Phone pictures, product shots, and event photography all live here. Photos compress well under lossy encoders because neighbouring pixels resemble each other: exactly the redundancy those encoders remove. A photo saved as PNG is the single most bloated object on the ordinary web: lossless encoding of sensor grain is inherently expensive, and moving that file to JPEG or WebP is a step change, not a trim.
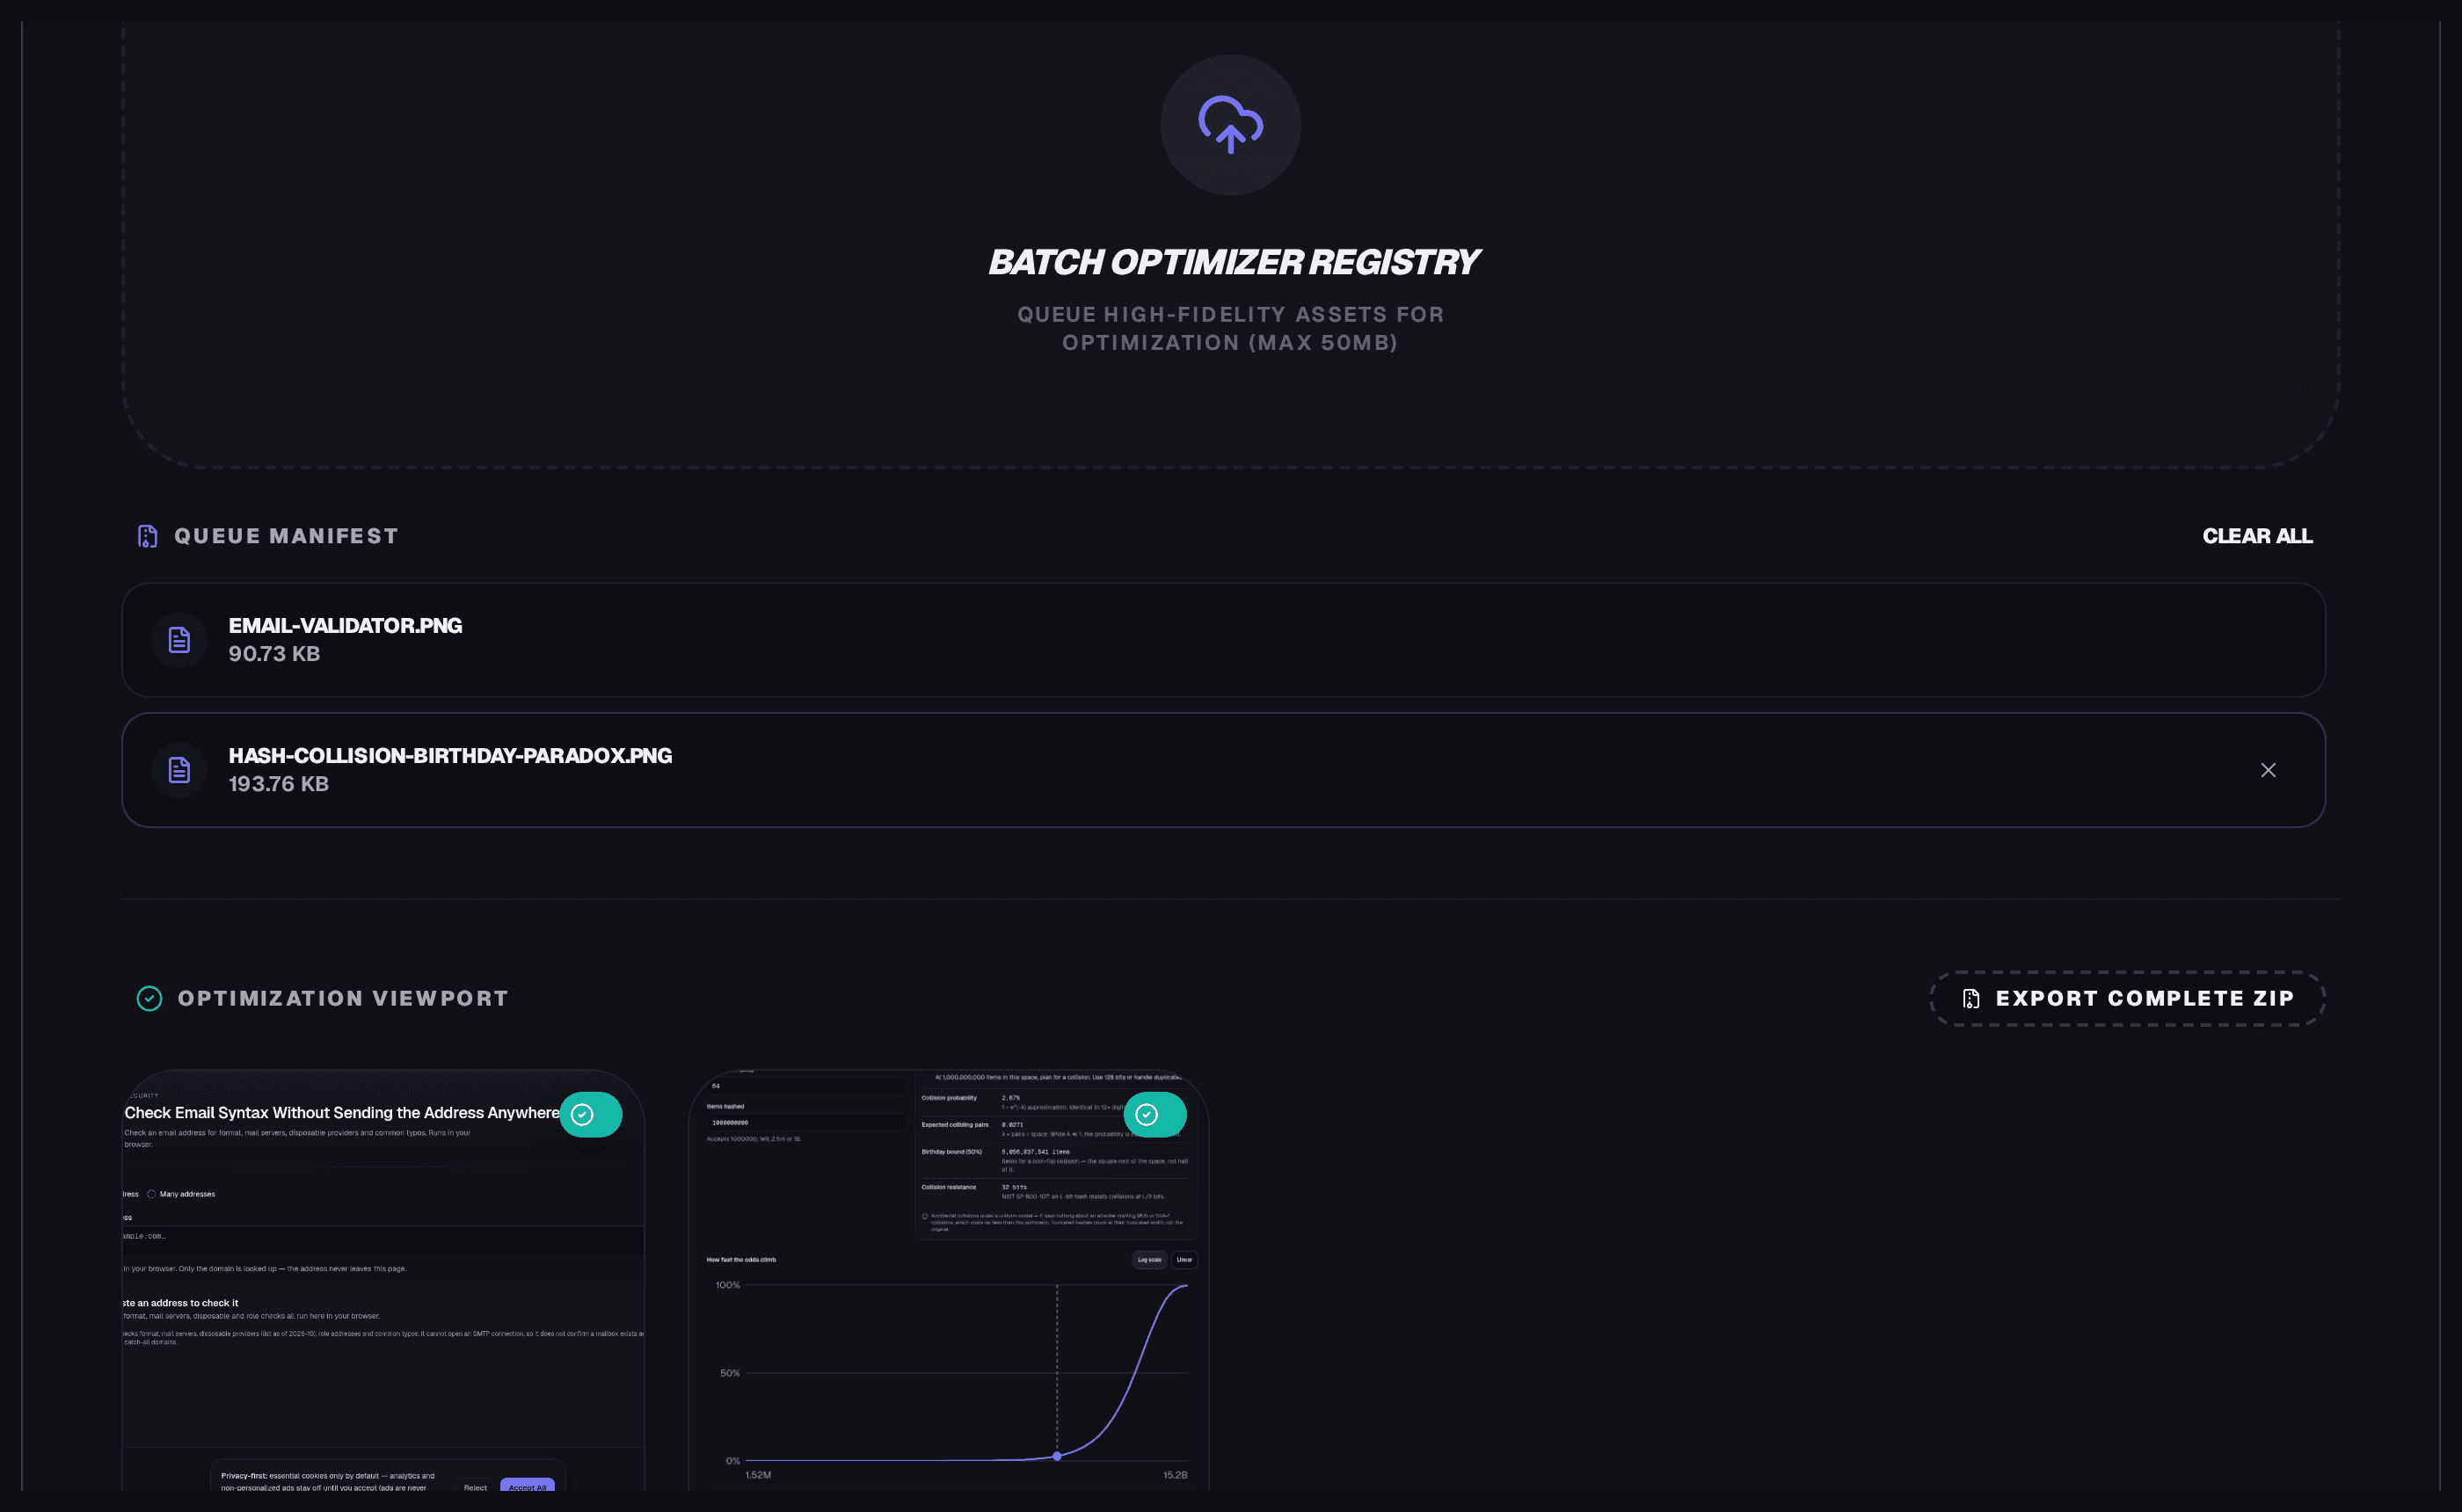
A screenshot or UI capture is flat fills plus sharp edges: window chrome, text on solid backgrounds, thin rules, icons. The two files queued below are this case: two PNG screenshots totalling roughly 285 KB of lossless interface pixels, dark panels and small type that must stay crisp.
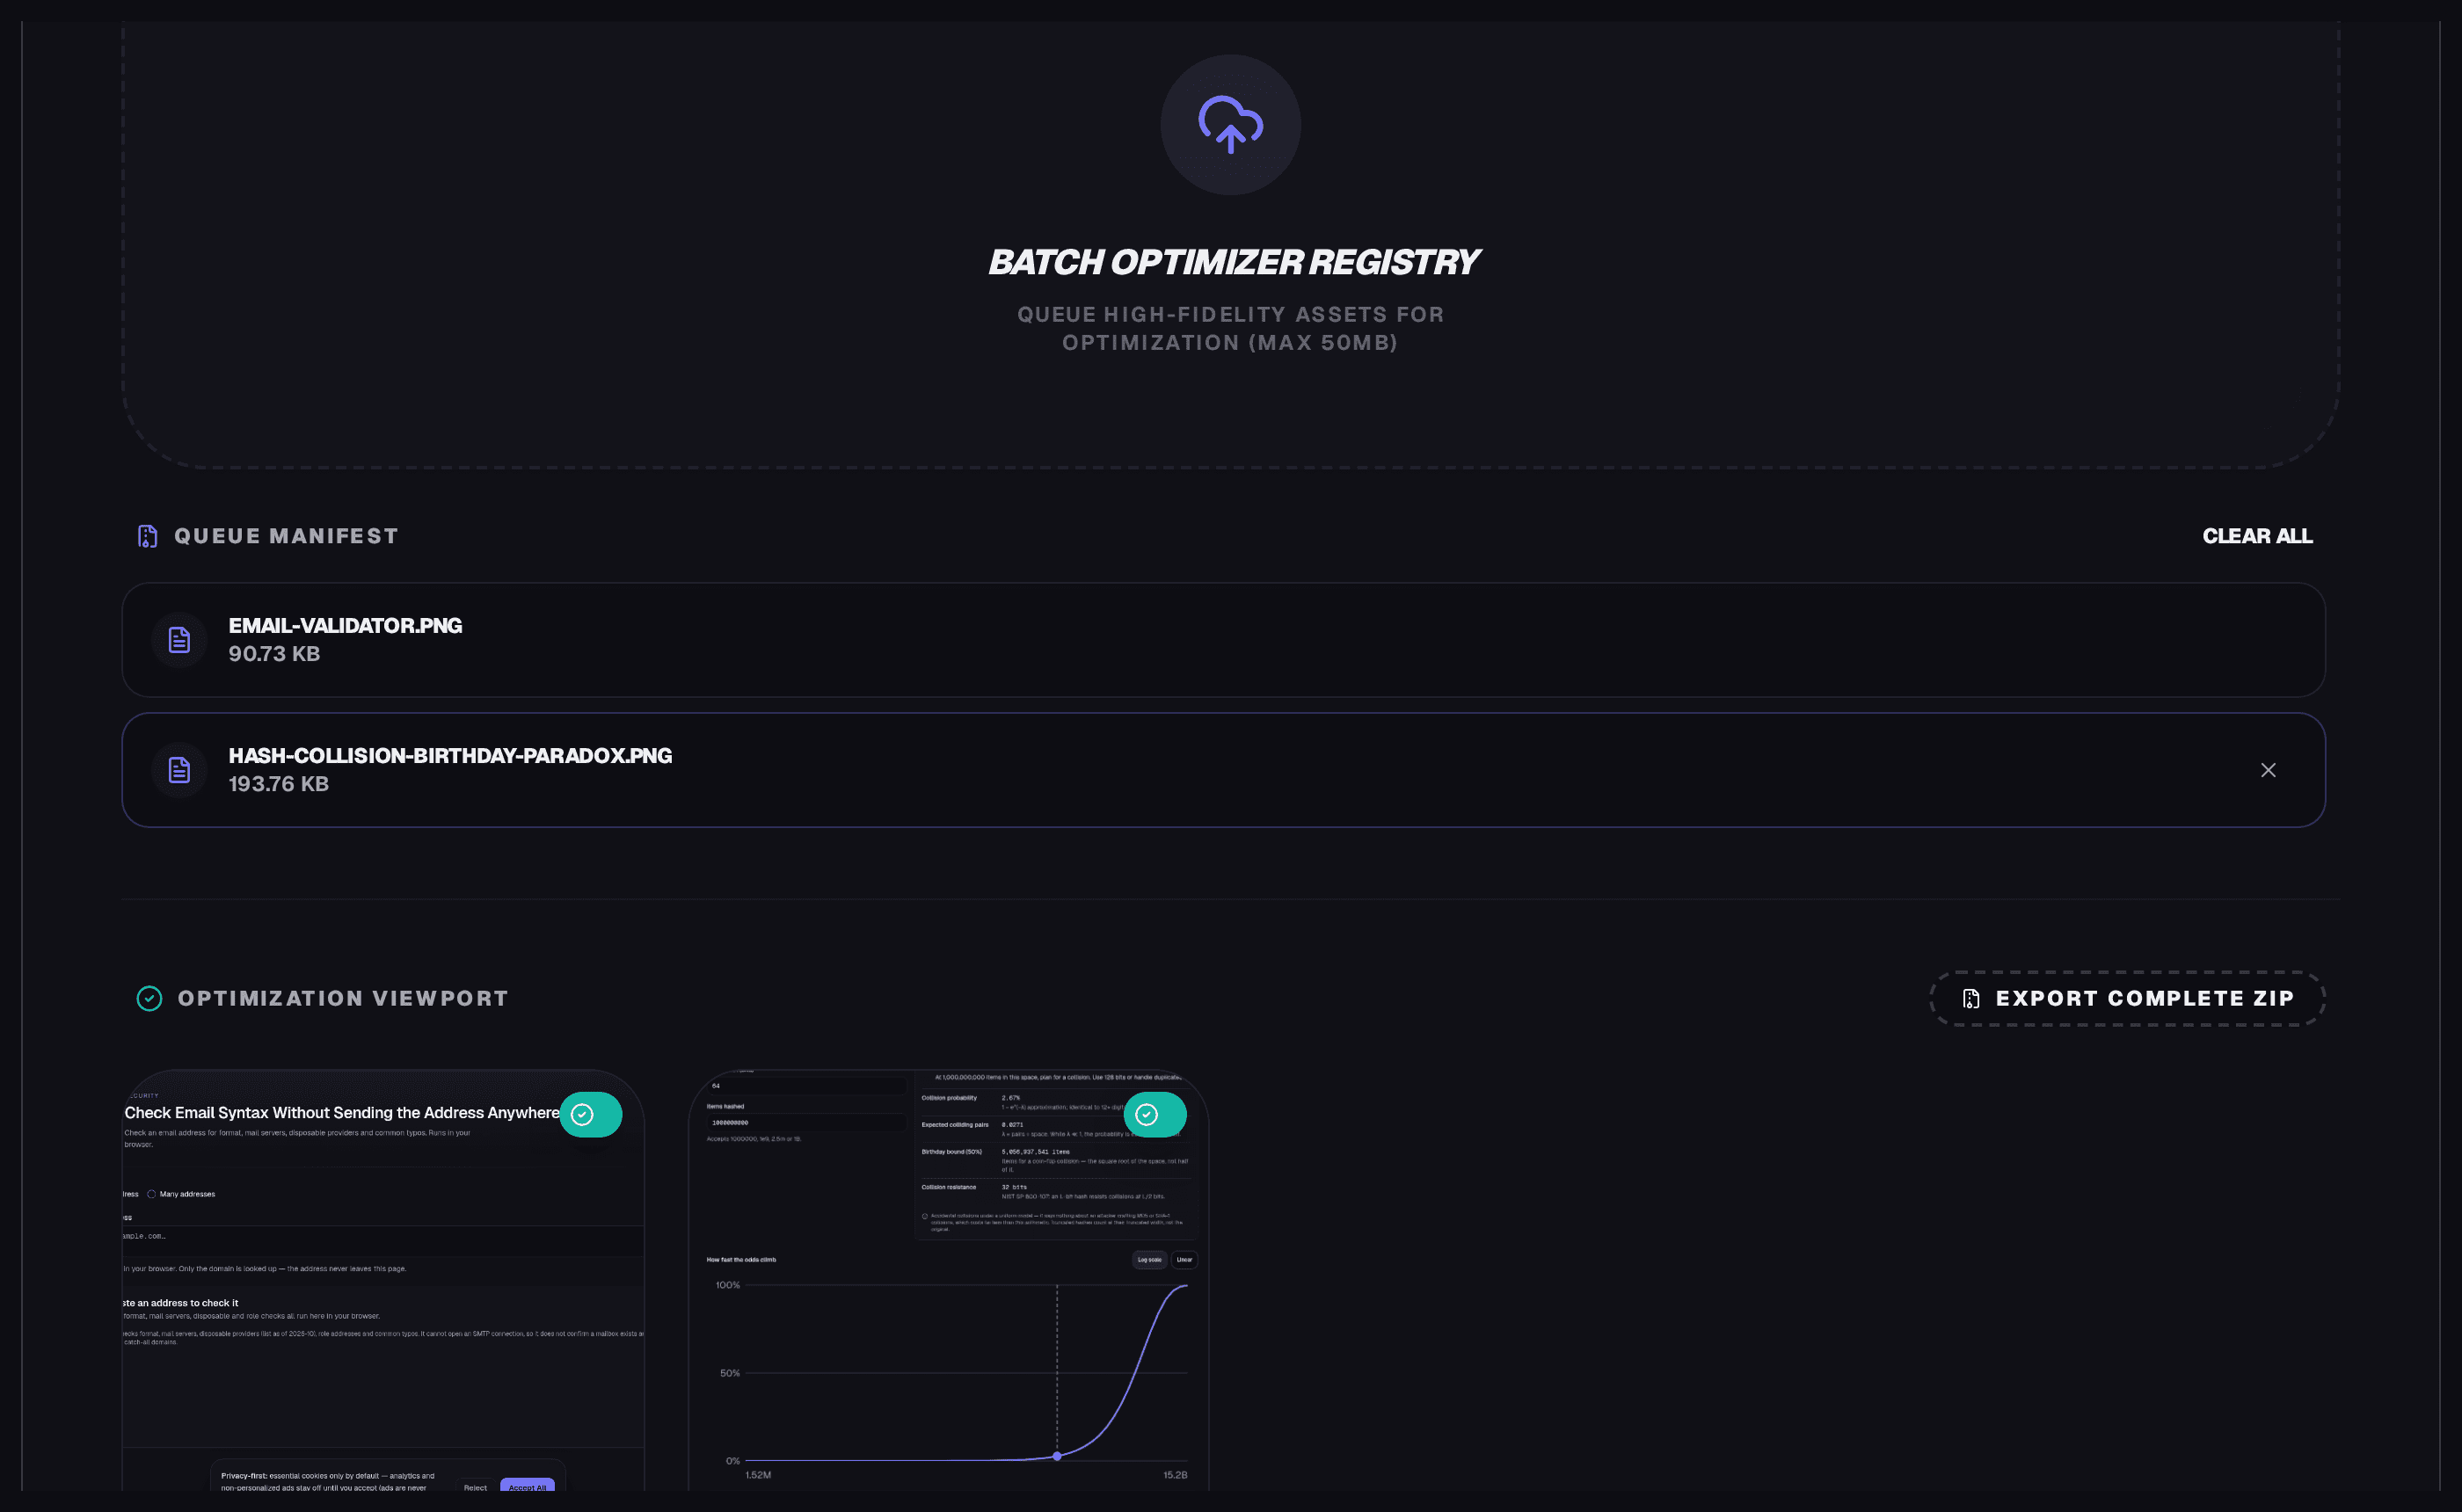
Two PNG screenshots queued before optimisation (90.73 KB and 193.76 KB): originals only, not results.
For this bucket the priorities invert. Text and one-pixel lines are precisely what lossy compression damages first, so screenshots usually stay lossless, and quality percentages mostly do not apply to them at all.
A graphic or logo is flat colour with transparency: a mark that must sit on any background, an icon, a badge with see-through corners. Here transparency is a hard constraint, and it disqualifies JPEG outright, since JPEG has no alpha channel. Pick wrong and a white box appears around the artwork: the failure mode with its own FAQ at the end of this article.
Name the bucket before touching any control. Photo means format first, screenshot means restraint first, graphic means transparency first.
Step 2: pull the levers in the right order
Given the bucket, the three levers rank differently:
| Content type | First lever | Second lever | Third lever |
|---|---|---|---|
| Photo (continuous tone) | Format: move lossless PNG to JPEG or WebP | Dimensions: ship display size, not sensor size | Quality: lower q inside the chosen lossy format |
| Screenshot / UI (flat fills, sharp text) | Format: stay lossless (PNG or lossless WebP) | Dimensions: exact display size | Quality: not applicable for PNG; WebP-lossy only while text survives |
| Graphic / logo (flat colour, transparency) | Format: PNG or WebP (alpha is mandatory) | Dimensions: exact use size; SVG instead if the art is vector-native | Quality: not applicable |
The arithmetic behind the dimensions lever is simple multiplication. Halving each axis quarters the pixel count: 4000×3000 is 12.0 megapixels, while 2000×1500 is 3.0, exactly one quarter. Cutting each side in half removes three quarters of the data before any encoder runs, which is why resizing dwarfs the other levers whenever the starting canvas is several times larger than its display slot.
One tool-honest footnote belongs here. The compressor on this site pulls the format and quality levers but not the dimensions lever: its encoder draws each picture onto a canvas at the source image's own width and height, so a 4000-pixel-wide upload is re-encoded at 4000 pixels wide. Measured below, 1600×1200 went in and 1600×1200 came out of all four runs. For an oversized-pixel image this tool only re-encodes. Resizing is a prerequisite done elsewhere, and the dedicated image resizer exists for exactly that job. Resize first, compress second.
The format guide: JPEG vs PNG vs WebP
Format is the highest-consequence choice because it decides which redundancies the encoder may remove. Every claim here follows the MDN image file type and format guide.
JPEG is, in MDN's words, "lossy; based on the discrete cosine transform" and "currently the most widely used lossy compression format for still images," particularly suited to photographs. Its two hard limits decide the buckets above: "JPEG does not support an alpha channel," so transparency is impossible, and "applying lossy compression to content requiring sharpness, like diagrams or charts, can produce unsatisfactory results": the ringing around text edges that ruins screenshots. Photos take JPEG; interface pixels do not.
PNG "uses lossless compression" with full alpha support, and MDN recommends it where "more precise reproduction of source images, or transparency is needed." Screenshots, line art, and logos are its home territory. Its cost mirrors its guarantee: a photograph saved as PNG pays full price for every grain of sensor noise, which is why photo-as-PNG is the classic bloat case. And because the compression is lossless, there is no quality dial to turn, a fact the next section proves with byte counts.
WebP "offers much better compression than PNG or JPEG with support for higher color depths, animated frames, transparency etc.," making it an "excellent choice for both images and animated images." It is the conversion target for both problem buckets: lossy WebP for photos, lossless or transparency-capable WebP for graphics. Browser support covers Chrome, Edge, Firefox, Opera, and Safari. If you already hold WebP files and need the older formats back, the WebP to PNG/JPG converter runs that direction.
Two warnings before moving on. First, converting PNG to JPEG flattens transparency: the encoder composites transparent pixels onto solid white, and that white box is baked in permanently. Logos must never take that path. Second, AVIF sits on the horizon. MDN notes its lossy images run "around 50% smaller than JPEG images" at similar visual quality, but it needs fallback markup, its support is shallower than WebP's, and the free tool here neither accepts nor emits it. Reading for later, not an option below.
The quality dial works, except on PNG
A sibling article on this site, Reduce PDF File Size, found that its compressor's quality slider changed nothing at any position: three settings, identical bytes. The natural suspicion is that the image slider is decorative too. It is not, with one honest exception, and both halves of that sentence have measured numbers behind them.
The fixture was synthetic and is labelled as such: a 1600×1200 PNG of plasma noise plus overlaid text (11,074,500 bytes, grain like a photo, edges like a screenshot). It went through the live PNG/JPG image compressor on 2026-10-12 at two slider positions, each run in a fresh browser, outputs saved and measured locally:
| Output format | Quality 0.75 | Quality 0.30 | Verdict |
|---|---|---|---|
| PNG | 4,297,785 bytes (−61.2%) | 4,297,785 bytes (−61.2%), byte-identical | dial inert |
| JPEG | 177,596 bytes (−98.4%) | 53,483 bytes (−99.5%) | dial functional, 3.3× apart |
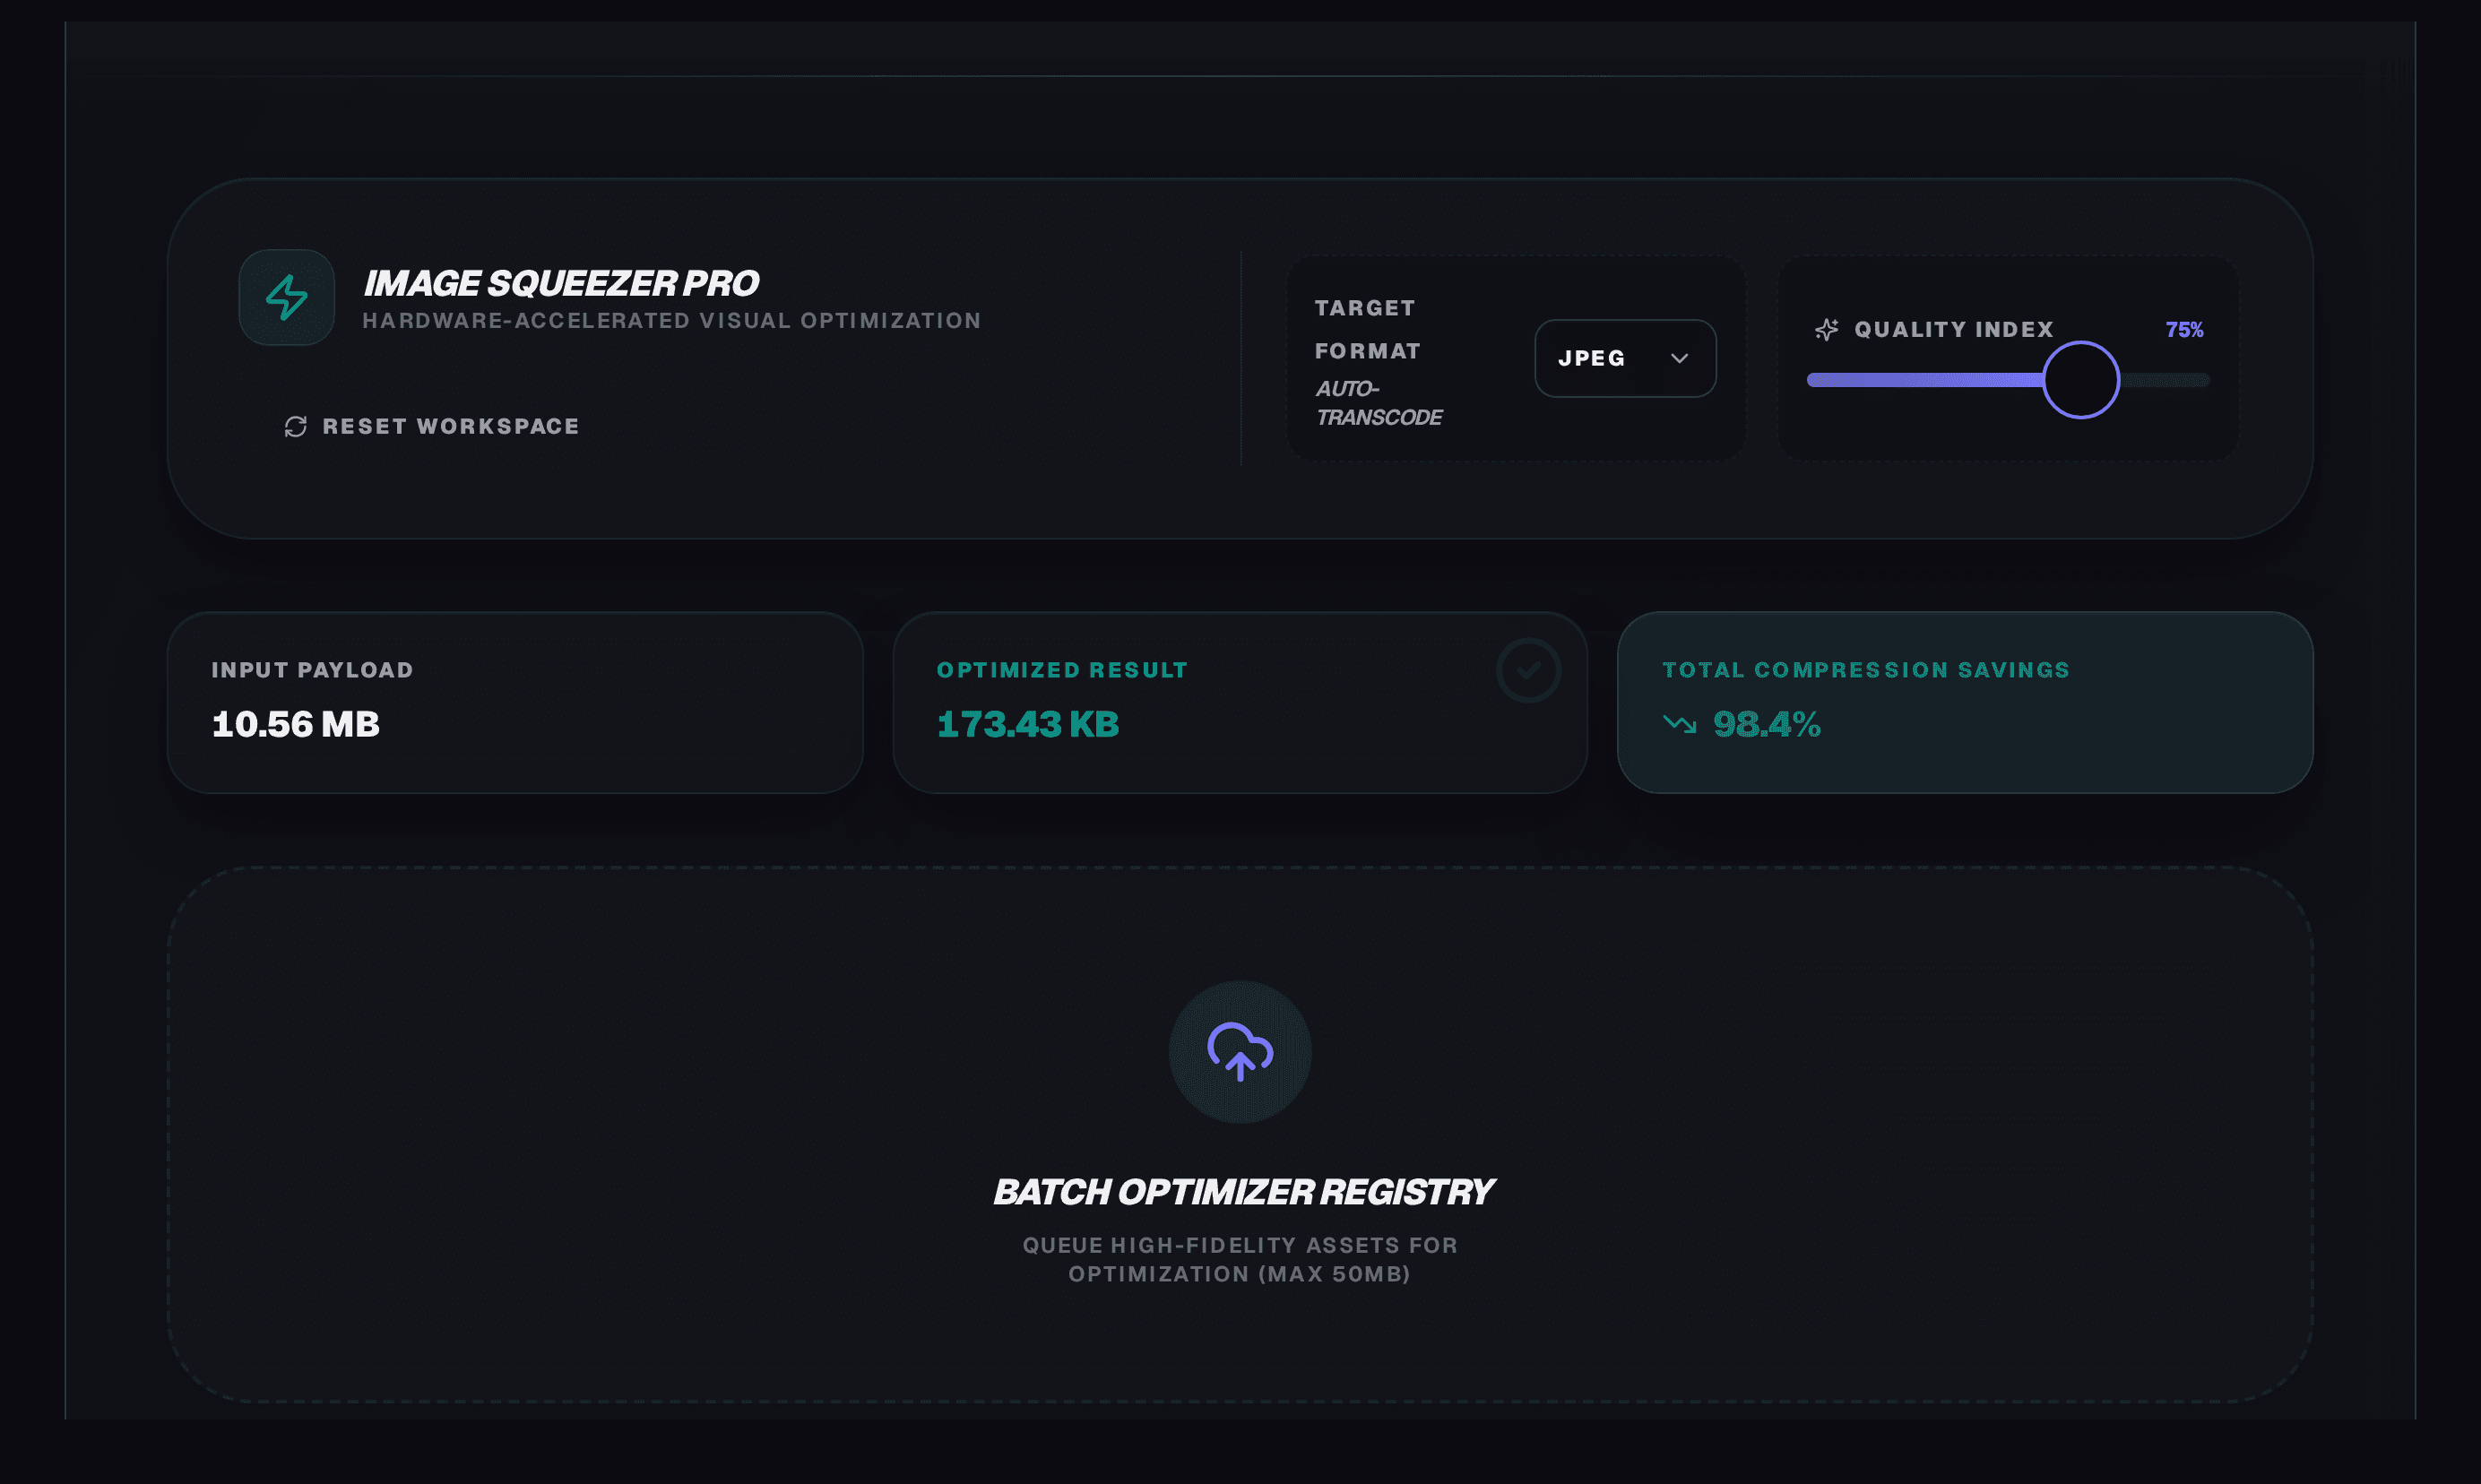 |
JPEG at 0.75 on the synthetic fixture, captured from the live tool. The panel reads exactly what the ladder table reports.
Read both halves. With JPEG selected, the same dial moves output by a factor of 3.3: JPEG q75 against JPEG q30 on the same picture, the only valid kind of quality comparison. With PNG selected, both positions return the identical 4,297,785 bytes: the value reaches the encoder and the encoder ignores it. That is not a defect. The OffscreenCanvas.convertToBlob documentation states that quality applies when "creating images using file formats that support lossy compression (such as image/jpeg or image/webp)". For lossless PNG there is nothing for the number to do, so it is passed but ignored per the API contract. The dial works fine one menu option over.
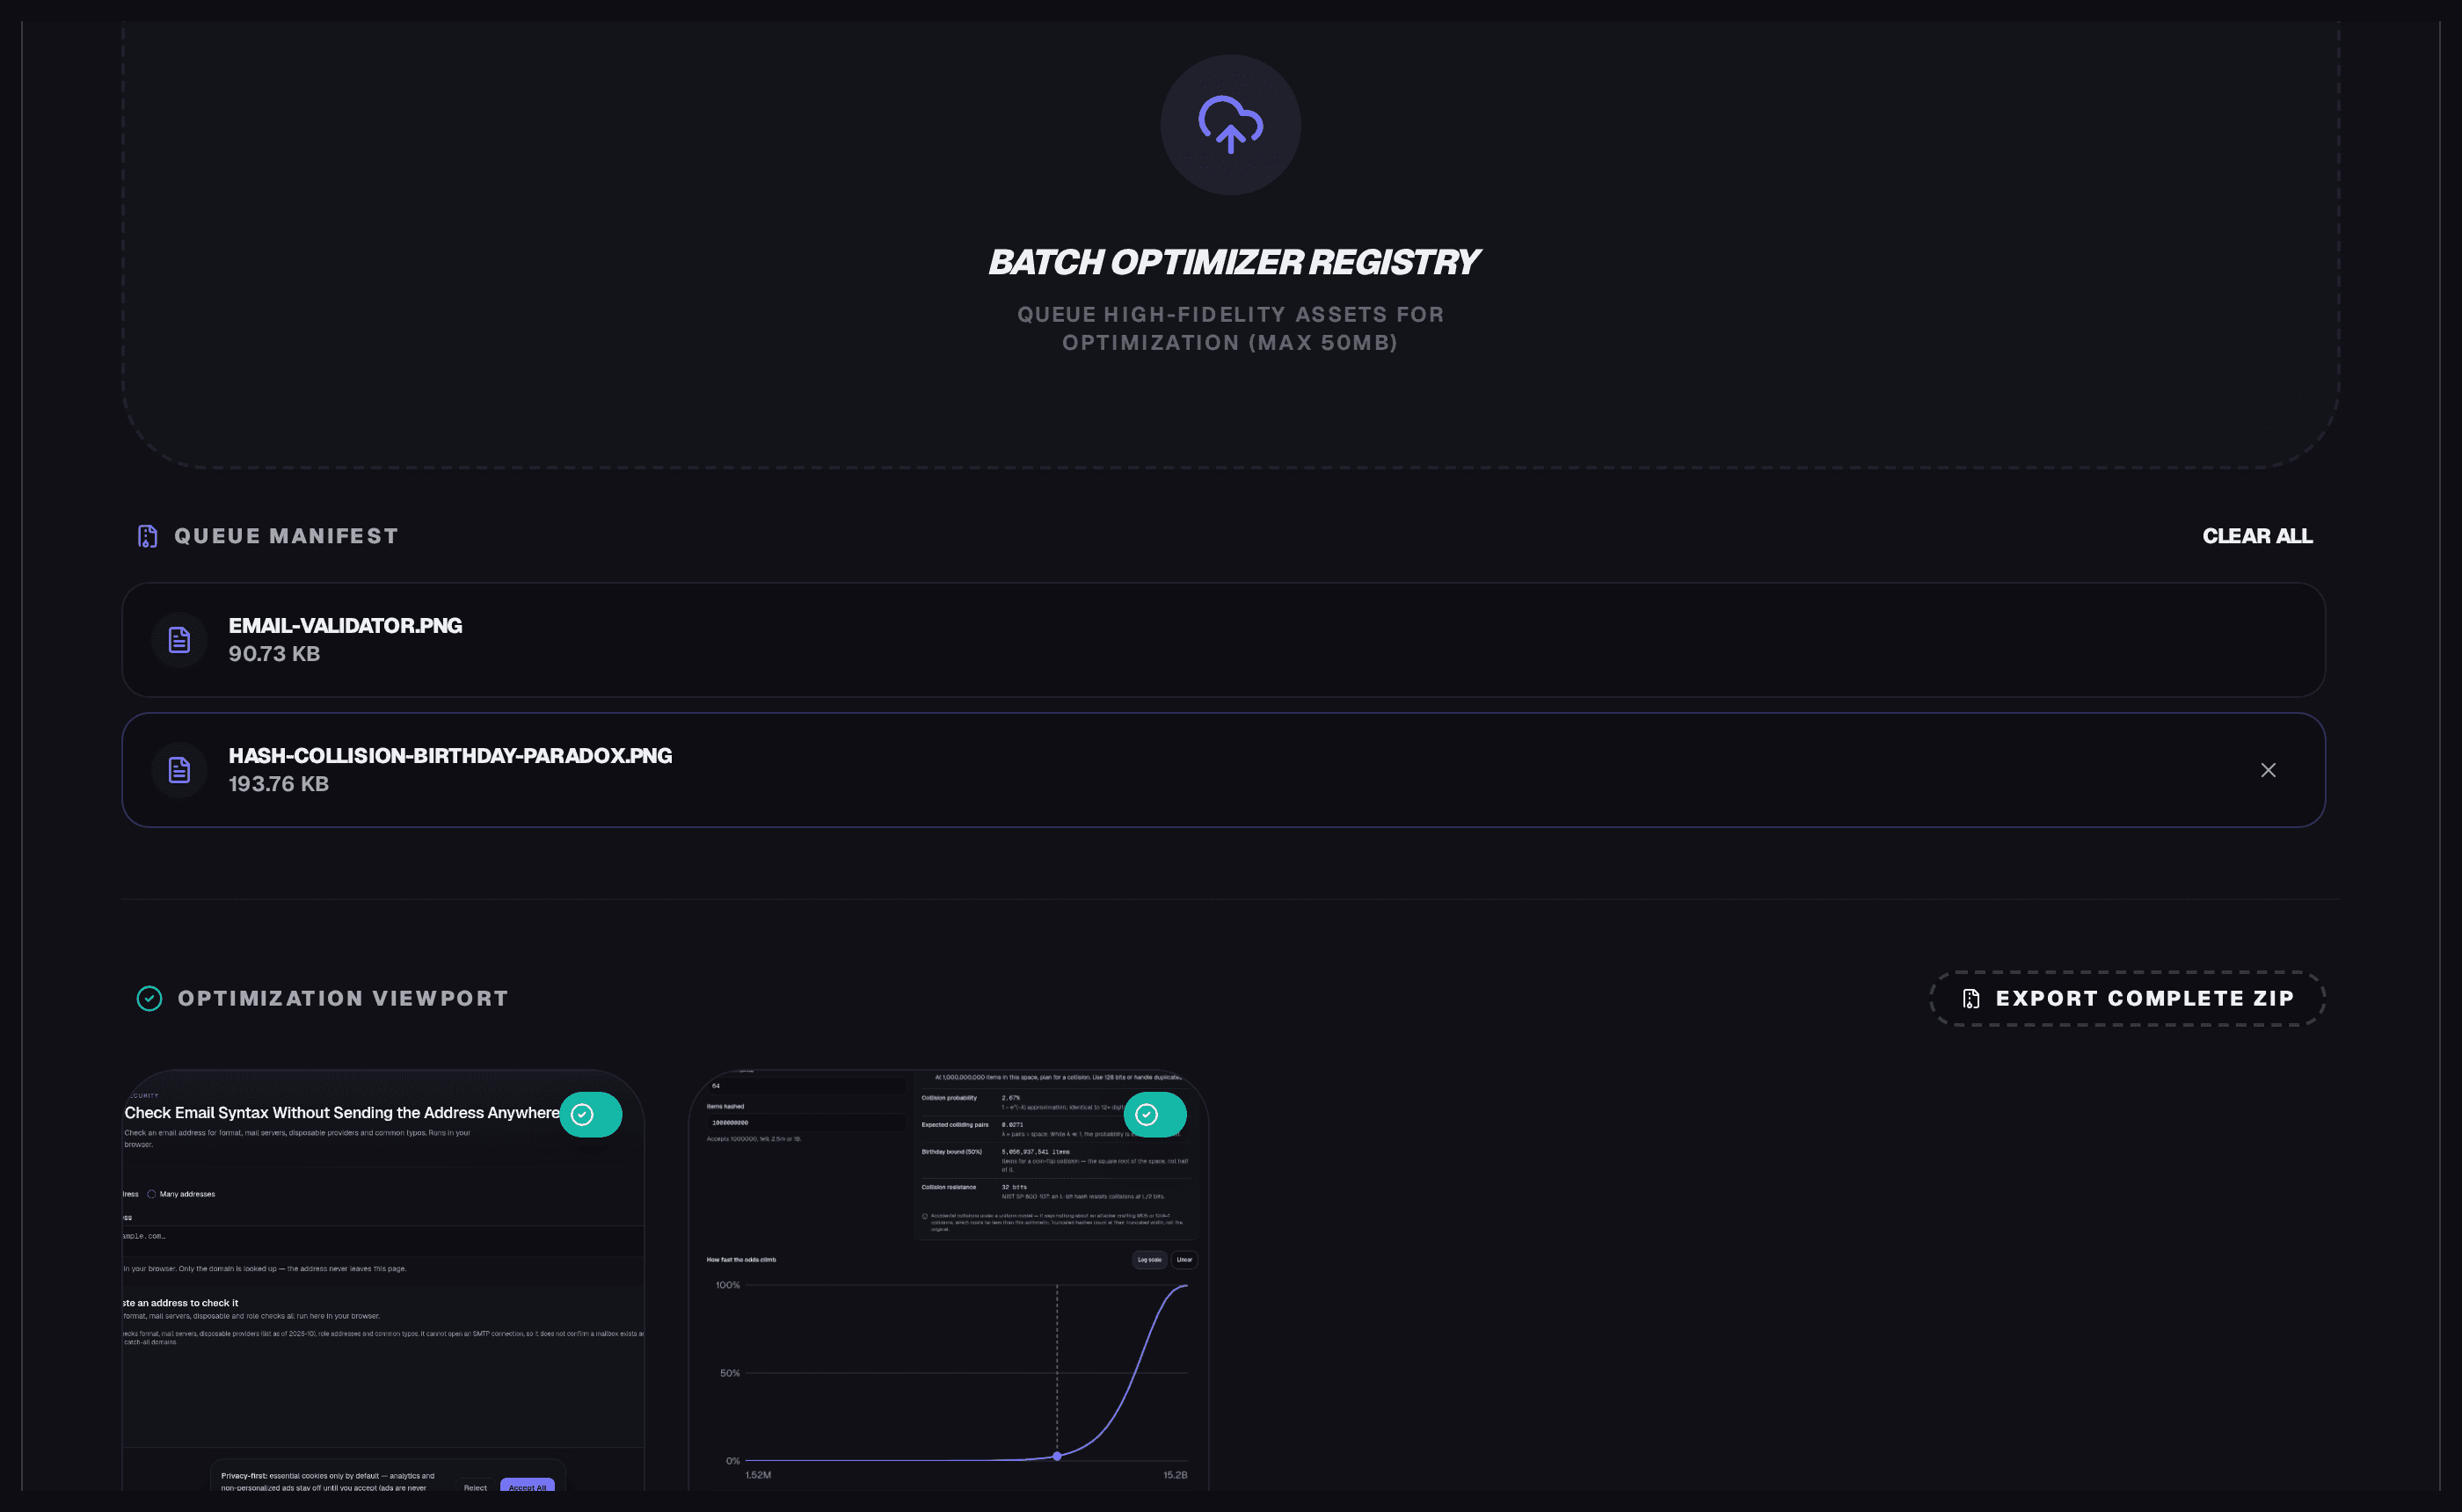
The queue with quality at its 75% default. The default comes from the tool's code, since the quality readout sits outside this capture's frame.
The same queue with the dial set low. Captures show interface states only, never a measured 75-versus-30 result, which exists solely in the byte table above.
One trap remains. JPEG q75 and WebP q75 are different encoders' different numbers: different quantisation tables, different perceptual tuning, no shared unit. Quality semantics are implementation-defined, so a bare percentage means nothing until it wears its format. Only PNG and JPEG outputs were measured for this article; the code path suggests the dial also acts on WebP, which is lossy, but that is code-indicated rather than measured. Treat it as plausible, not proven. Never print a naked "quality 30%," and never equate numbers across formats.
Doing it free in your browser
The workflow above runs in the free PNG/JPG image compressor: Original, JPEG, WebP, and PNG outputs, quality dial defaulting to 75%. Queue the files, choose the format your bucket calls for, set a format-qualified quality, and run the batch optimisation. The page reports input size, output size, and saving per file.
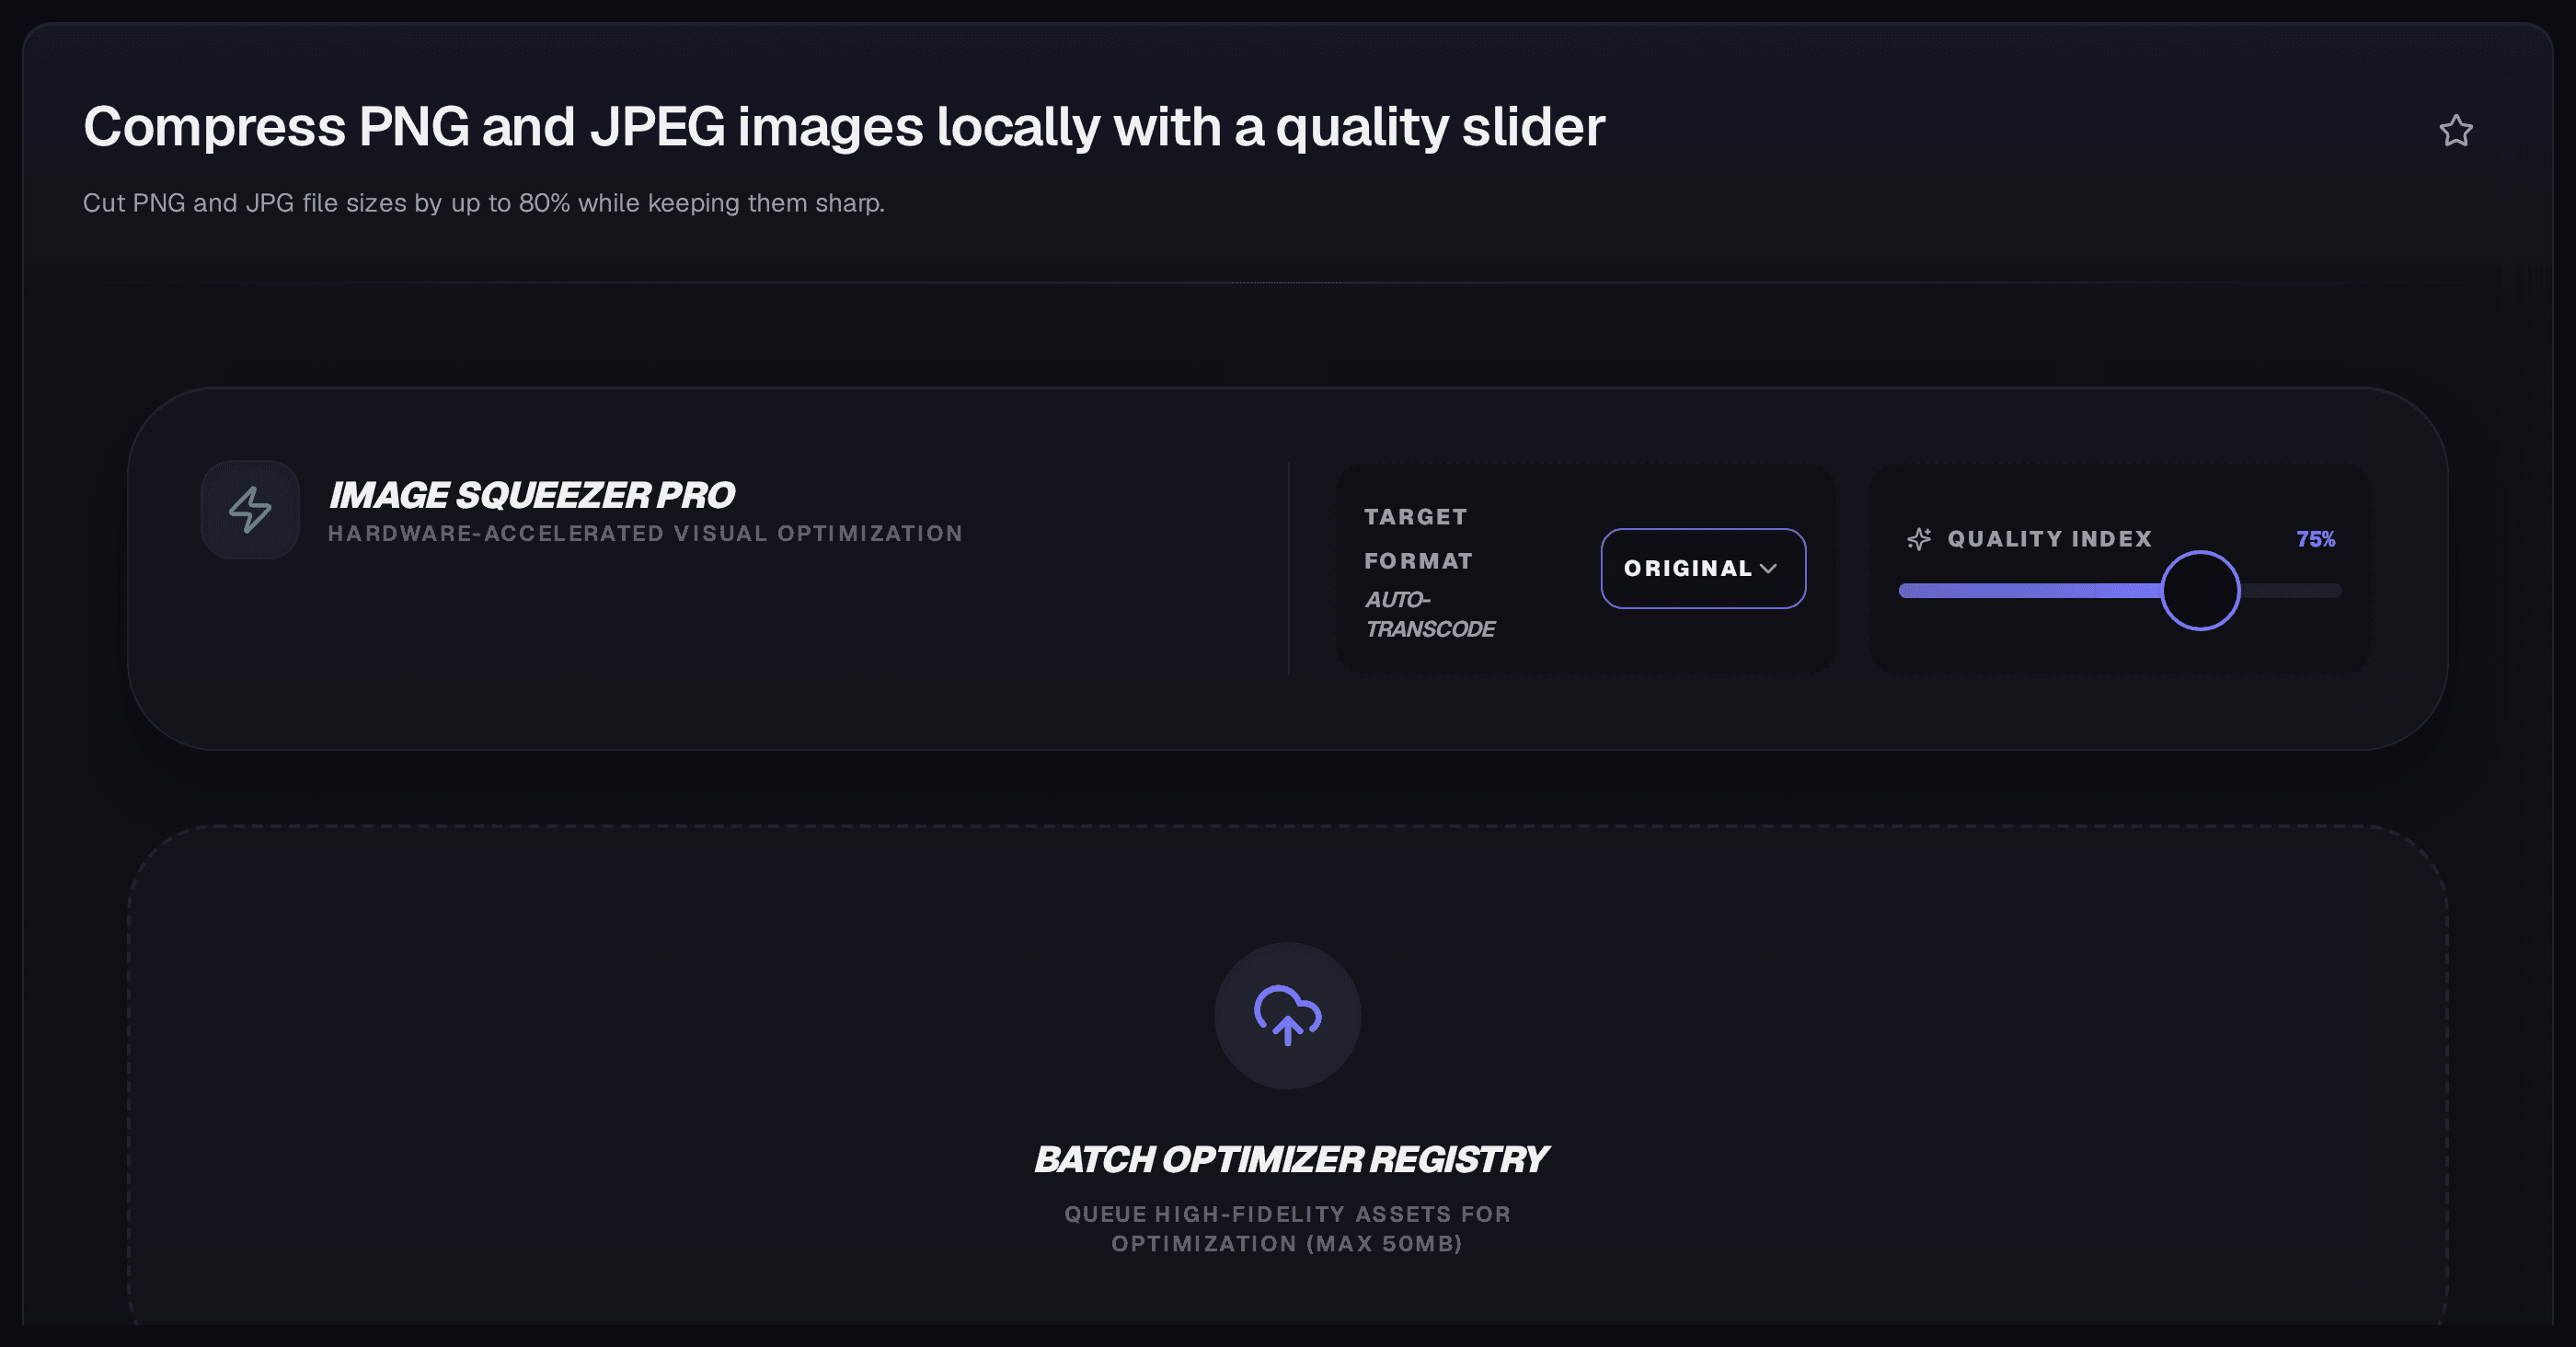
The workspace queue before optimisation. The format choice and quality dial live in the same panel. The capture frames the queue, not the controls.
Two prerequisites decide whether that run satisfies you. First, the resize rule: this tool re-encodes at source dimensions, so anything larger than its display slot should visit the image resizer first. Second, the format rule: screenshots and transparency stay out of JPEG, photos get out of PNG. Get those two decisions right and the quality dial is a finishing adjustment; get either wrong and no dial position rescues the file.
What re-encoding cannot fix
An already-optimised file has almost no slack left. A photograph exported through a real optimiser, or a WebP converted from an optimised source, typically yields single-digit percentages on re-encode. The headroom is gone, and running it through the compressor twice is superstition, not method. Transparency is a hard constraint: anything needing an alpha channel takes PNG or WebP, never JPEG, and the white-box flattening above is irreversible. Animation gets a caution: the tool accepts PNG, JPEG, and WebP with no GIF in the list, so an animated source risks collapsing to a still frame. Verify before trusting, since frame behaviour was not measured.
Retina and print assets are cases where a smaller file is the wrong objective: pixel density is the requirement, and shrinking those files degrades the product. And oversized uploads stay oversized here (the 1600×1200 fixture returned at 1600×1200 four times out of four), so dimensions remain your job, done beforehand.
Metadata gets one paragraph, because a sibling owns the depth. Re-encoding through a canvas has no metadata write path, so EXIF and location data are expected not to survive, but that was not tested on this tool, so verify before relying on it: run the output through the image metadata viewer and check. For what metadata can reveal and why stripping it matters, PDF Tools That Never Upload covers the subject properly, and nothing here repeats it.
Four myths that waste your time
"The quality slider does nothing." True on PNG, false everywhere else. The byte table is the whole answer: identical 4,297,785-byte PNG outputs at both dial positions, 3.3×-apart JPEG outputs at the same two positions. The narrow honest version of the PDF post's finding.
"Optimising resizes your image." This tool never touches dimensions. Source-sized canvas in, source-sized file out, four runs out of four. Resizing is a separate operation in a separate tool, done first.
"75% means the same thing everywhere." Quality numbers are encoder-defined and only comparable within one format on one image. JPEG q75 versus WebP q75 is not a comparison; it is two dialects sharing a per-cent sign.
"Embedding is free." A closing bridge: inlining an image as a data URI costs roughly a third extra over the file itself, since the Base64 specification (RFC 4648) encodes each 3 input bytes as 4 characters. Shrink the file first, then decide. The Base64 image encoder is where that decision gets made.
Related Tools & Further Reading
Each of these adds something this article does not say. The PNG/JPG image compressor is the free tool this guide teaches toward. The image resizer supplies the missing first lever, dimensions. The WebP converter handles the modern-format direction both ways, and the metadata viewer lets you verify what survived the re-encode. For reading, How to Compress Images for Web is the delivery walkthrough this diagnosis feeds into, Reduce PDF File Size records the opposite slider verdict on a different medium, and the no-upload privacy guide owns the metadata depth.

Written by
Ingrid Solberg
A compressed image cannot be judged from a file listing, so every page here shows the artefact rather than the byte count. What survives are the frequencies the eye resolves, which is why artefacts cluster around sharp edges and fine detail: text, hair, wire, foliage. The artefact that gives compression away fastest is banding across a smooth gradient, and it appears long before anybody notices blur. Lossy versus lossless is a choice about whether the file will be edited again.
A file destined for print or for further editing should stay lossless. A file that goes onto a page and is never touched again should not. Resolution and quality are not the same setting, and confusing them wastes effort. Resolution decides how many pixels you have.
Quality decides how the encoder spends them. A phone photograph at full resolution and low quality looks worse than a correctly sized image at high quality. Metadata is a real cost.
A camera original carries a full sensor file with an embedded preview, and stripping to the embedded version is often a larger saving than any quality adjustment, with no visual change on a web page. For images on a page I finish with the format recommendation, because serving a format the browser supports natively beats compressing an older one to a comparable size. There is also a floor below which further compression is pointless, because the file stops shrinking at a rate that matters while the artefacts keep accumulating. Finding that floor for your own images is a short experiment and it saves guessing on every subsequent batch.